Models+

Which mower is right for me?
Find out nowYour Basket


Maintaining sharp blades is key to keeping your lawn looking its best – and when it comes to the Segway Navimow i Series, replacing the blades regularly helps ensure clean, efficient, and safe mowing. Whether you’re a first-time owner or a seasoned Navimow user, this step-by-step guide will walk you through how to change the blades properly and safely.
The i Series is a powerful, intelligent mowing solution designed to deliver precision cutting with minimal effort on your part. One of its smart features is a blade disc that automatically changes rotation direction during mowing. This reduces wear and tear on one side of the blades and helps extend their lifespan.
However, if you’re mowing regularly, it’s best practice to replace the blades every 1–2 months. This keeps your mower cutting cleanly, helps avoid strain on the motor, and ensures the highest safety standards are maintained.
💡 Tip: Always replace all three blades and screws together to maintain a balanced and safe cutting system.
For regular users, every 1–2 months or after 100 hours of use, whichever comes first. To check the number of hours your Navimow has run, open the app, tap the three dots (…), then go to Tools > Maintenance to view the total run time.
After contact with hard debris (e.g., stones or branches)
If you notice uneven cutting or missed patches
If the blades look dull, chipped or bent
Before you begin, keep these important safety notes in mind:
🧤 Always wear protective gloves when inspecting or replacing blades.
🔧 Do not reuse screws – always use new ones provided with the blades. Reusing them can be dangerous.
⚠️ Never use an electric screwdriver. Only use a standard cross-tip screwdriver.
🛠️ Use only genuine Segway Navimow blades – model X3A06E
Cross-tip (Phillips) screwdriver
Replacement blades and bolts (model X3A06E)
Clean, soft surface to rest the mower on
Protective gloves
Follow these simple instructions to replace the blades on your Navimow i Series mower:
Before anything else, power off your Navimow and remove it from the charging station.
Place the mower upside down on a soft, clean surface to prevent scratching or damage.
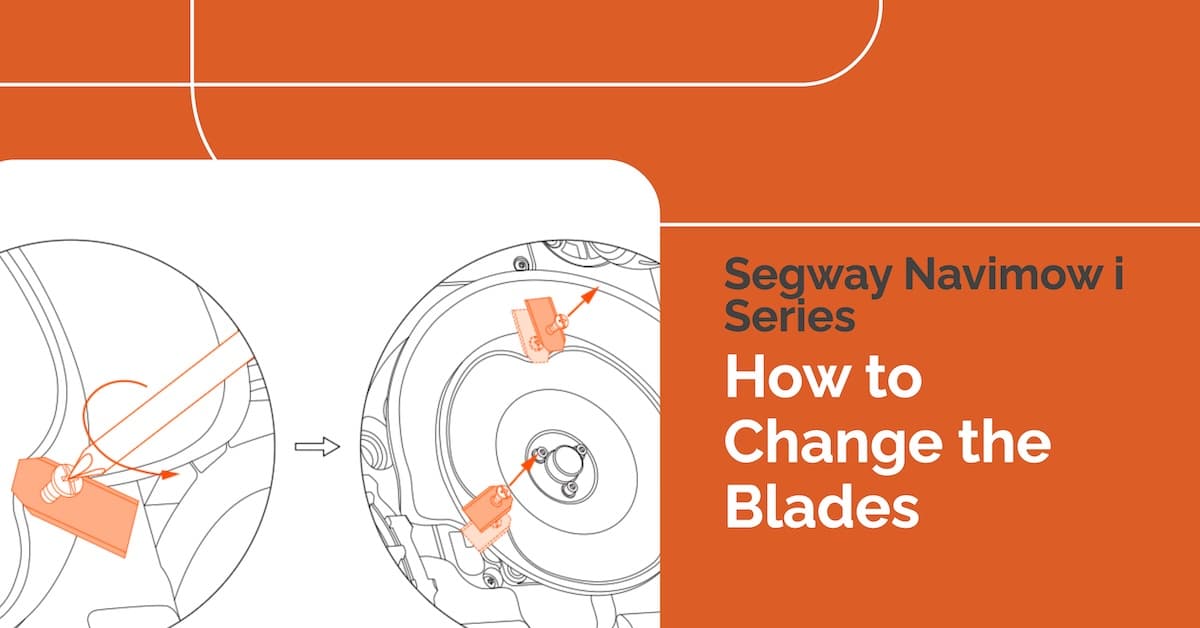
Use a cross-tip screwdriver to unscrew the three screws.
Remove the blades and screws carefully.
🛑 Do not reuse the screws. Always install new ones for safety and optimal performance.

Align the new blades and insert the new screws.
Torque to 1 N·m using your screwdriver.
Ensure each blade can pivot freely – this is essential for proper operation.
⚙️ The blades may feel loose even after installation – this is completely normal. The mower uses centrifugal force during mowing to keep blades extended.

The Navimow i Series blades are designed to rotate around their screws, helping prevent jamming from small grass clippings and debris. This feature keeps your mower functioning effectively between cleans. That said, if you notice an excessive build-up of clippings, it’s worth removing them during blade replacement for better performance.
Avoid mowing wet grass – it tends to stick to the blades and underbody, increasing maintenance needs and reducing cutting efficiency.
Clean your mower regularly to extend blade and motor life.
Inspect for damage after mowing over tough terrain or during seasonal transitions.
Keeping your blades in good condition is one of the simplest ways to get the most from your Segway Navimow i Series. Clean, sharp blades don’t just deliver a beautiful lawn – they reduce strain on the mower and make every mowing session more efficient.
✅ Top Tip: Set a recurring calendar reminder every 1–2 months to check and change your blades.
You can find genuine Navimow replacement blades (X3A06E) at the official UK Navimow website. Always use approved parts to ensure the best performance and keep your warranty intact.